I was actually looking for a way to manage all of my AI generated images when I came across Eagle, and realised this nifty low cost software would make a great low cost font manager. At time of writing, there is a free trial, followed by a one-off cost of $USD29.95 for two devices.
This is not a sponsored post.
WHAT IS EAGLE SOFTWARE?
Eagle is like File Explorer on steroids. Or like Finder on steroids if you’re an Apple person. Eagle is available for both PC and Mac OS.
If you’re familiar with Adobe Lightroom for organising images, it’s a bit like that as well. Think of Eagle as ‘tagging and viewing software’. Or, ‘asset management tool’.
Why not just use Windows Explorer? Loading large numbers of photos in a folder is slooow. And how do you remember where you put stuff? Sure, you can search. That takes a long time, too.
First, you create ‘design’ libraries. If you’re familiar with Scrivener, a ‘Library’ in Eagle is like a ‘Binder’ in Scrivener. If you’re only really familiar with Explorer/Finder, the Library is like a top level folder containing a bunch of subfolders.
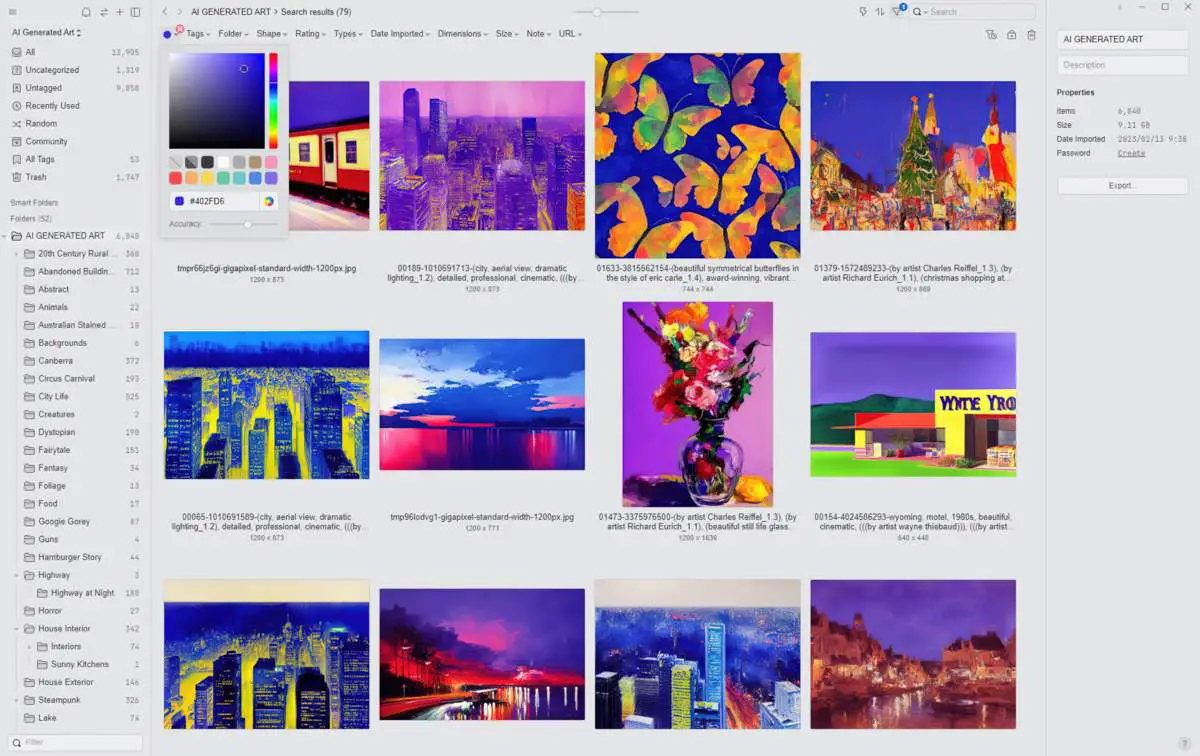
Below is a screenshot of my AI GENERATED ART library.
These are just a tiny portion of the many, many images I’ve generated using Stable Diffusion.
Look at the top left of this screenshot and you’ll see I’ve narrowed my search to a certain shade of purple. That’s a remarkably useful feature of Eagle if your brain remembers by colour. (This is the same reason I organise my bookshelves by spine colour, which I resisted for ages, feeling it was ‘disrespectful to the books’.)
I frequently use the search by Date functionality to locate an image I sort of remember but can’t easily find. Turns out I’m likely to remember approximately when an image was generated. (Last month, last week, yesterday?)
TAGS
Eagle’s most notable feature: the powerful tag functionality. Adding tags to images is time consuming. But Eagle has smart folders (presets, basically) and smart tags, so the task of tagging isn’t as onerous as it could be. There’s a small learning curve, but if you’ve ever used Scrivener or Adobe Lightroom or even poked around in your Folder management software, you’ll be fine. Eagle have created tutorial videos and detailed written instructions on their website.
IT’S FAST
The latest iteration of Eagle is very fast. Impressively fast. (I am using Eagle with a super fast hard disk — a worthwhile extra cost if you don’t like sitting like a plonker for minutes at a time waiting for image previews to load.)
However, I feel even Eagle has its limitations when dealing with very large numbers of image files.
WHAT DOES EAGLE DO WITH THE FILES BEHIND THE SCENES?
If you’re old enough to remember how iTunes works, this will make sense to you: Eagle copies every image, at full size, into its own separate library by making a full duplicate. It then creates its own .info file with the extra information you tag it with within Eagle, and puts the two together in its own separate little folder with its own incomprehensible name. In no time at all, I was filling up my disk space. Basically, if you had 20 gig of AI generated images before, congratulations, now you’ve filled up 40.
WHY DOES IT DO THIS??
Eagle creates a thumbnail as well as the metadata file, which is how it loads for you so much more quickly. Without this metadata, you wouldn’t be able to search by colour, for example, or copy the hex values, add tags, comments…
Note that once Eagle indexes your file, it doesn’t change its location on your hard drive even if you move it around into different folders inside your library. This is slightly counterintuitive because that’s not how Explorer works. Move a file from one file to another, you’ve moved its location on your computer. This is excellent if you make videos or PowerPoint presentations or make use of any other software which requires you KEEP YOUR FILES IN THE SAME PLACE.
NEXT: DELETE ORIGINALS FROM EXPLORER
If you do want to use Eagle to manage large numbers of large files, it’s not a bad option and that’s what it’s designed for, after all. But once you import images into Eagle’s library, delete them in Explorer. Otherwise you’ll be spending cold hard cash on bigger disks for no good reason.
Perhaps it goes against the grain to delete the files from elsewhere on your computer. After all, what if you decide you no longer want to use Eagle? That’s okay, there’s a way to export to computer. (Another reason you may need to export your files in a human readable format: sharing with friends or colleagues.)
Now let’s talk about using Eagle to manage your Fonts. Font files are much smaller than image files. So who even cares if you’ve got duplicates on your hard drive. Eagle makes for an excellent low cost font manager, especially when compared to other dedicated font managers out there. The most powerful are now a subscription model with monthly fees. But what if you’re not a professional graphic designer who can write this stuff off on tax? In that case, Eagle is a good choice.
USING EAGLE AS YOUR FONT MANAGER
Okay, so if you haven’t already, collect all your font files into a single place on your computer.
Make a Library in Eagle called Fonts.
Drag and drop the font files into Eagle. If you’ve already organised your fonts into subfolders, be sure to learn how to import files while maintaining your file structure.
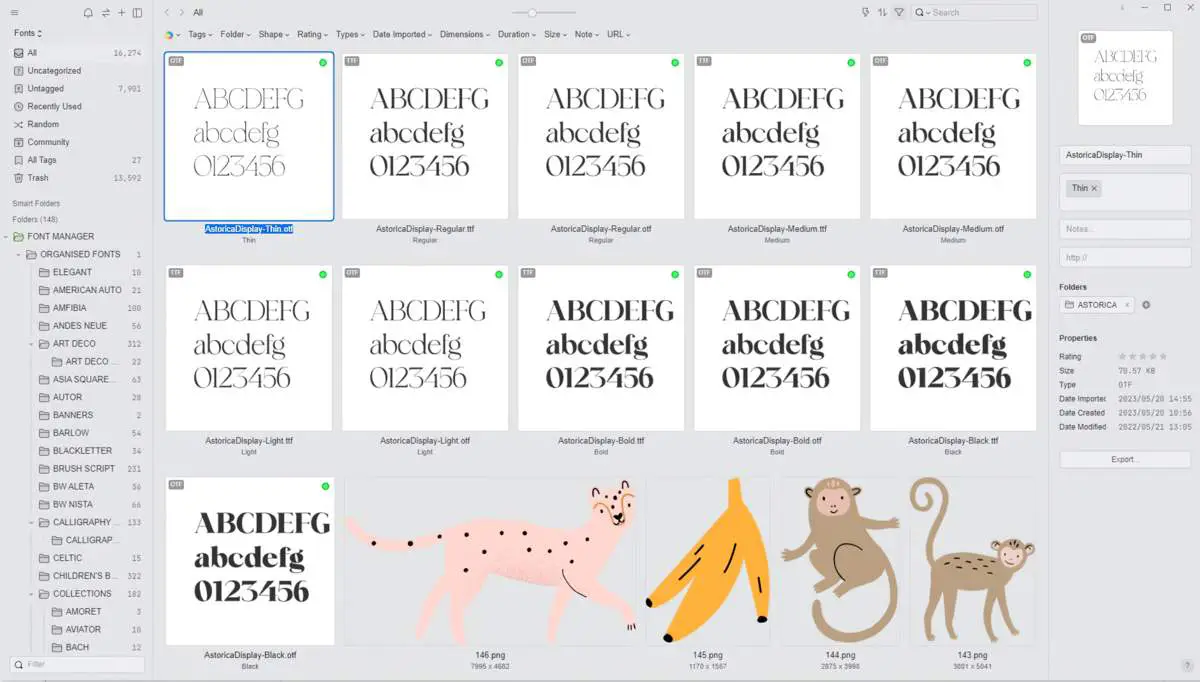
When I was done importing, I saw this.
In their advertising copy, Eagle says you can “easily manage font files, preview and categorize without installation”.
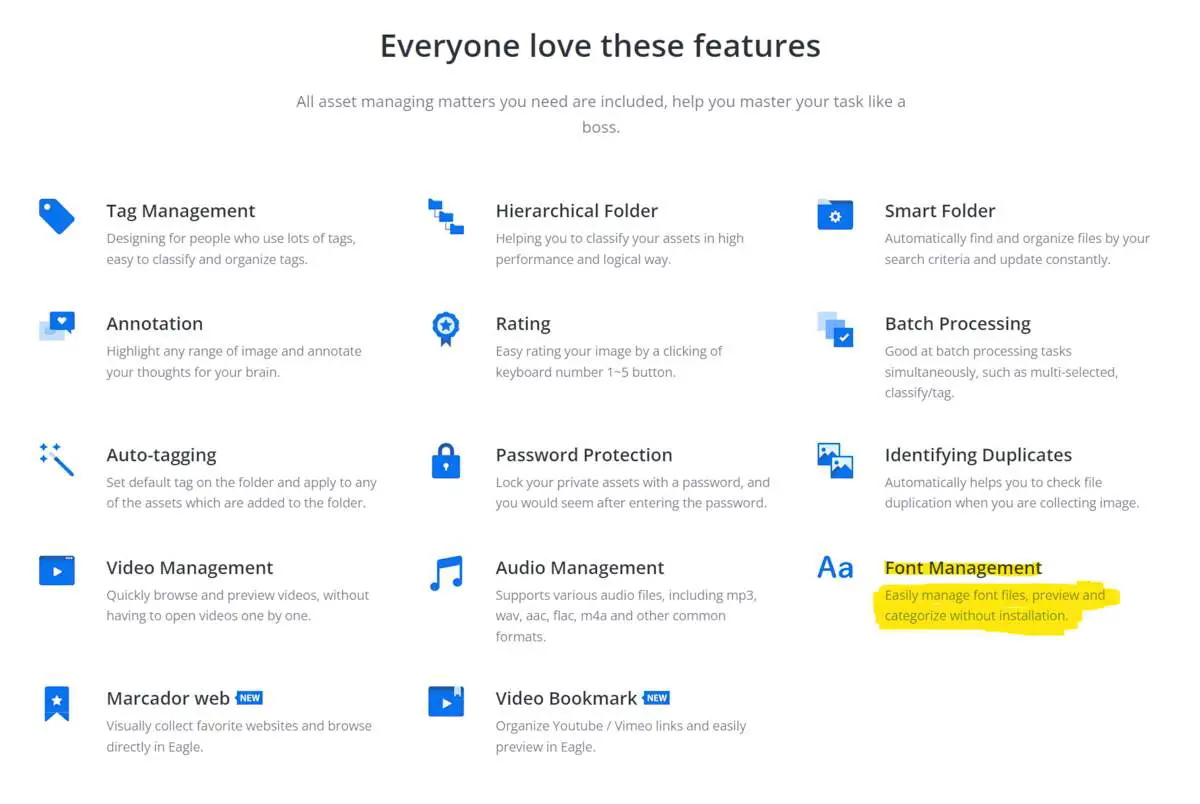
What do they mean, “without installation”? Depends on the definition of “Installation”. If you’ve ever installed large numbers of files within Windows Explorer, you’ll understand what an annoying manual process that is.
You’re still “installing” fonts if you do it via the Eagle user interface. But instead of clicking and choosing “Install” within Explorer, now you’re simply toggling a radio button on or off within Eagle to “activate” or “deactivate”. “Activating” is way easier than “installing” when dealing with large numbers of files. More to the point, deactivating is easier than uninstalling.
When you first install Eagle on a PC, you’ll likely be irritated by a window which keeps popping up asking for permission to install every single darn font. Eagle has instructions for how to stop this from happening. It requires going into User Account Control Settings and changing how frequently Windows notifies you about changes to your computer. Move the slider down to to “Never Modify” (which is, by the way, “Not recommended”).
Note that all of the fonts in the screenshot above are installed, as indicated by the green dot at the top right hand corner of each image.
This is easier said than done, but only keep installed the fonts you plan to imminently use. There’s no such thing as too many fonts. But too many installed fonts will freeze your computer.
MAKING USE OF IMAGE FILES IN YOUR FONT MANAGER
Why have I got image files right there in my font manager? Because oftentimes when you purchase a font, it comes with Extras. As you can see, the font called Astorica comes bundled with cute tropical .pngs. If I don’t store those images alongside the font itself, I’ll forget I even have them. Ditto for swashes, borders and other ornaments.
Even when fonts don’t come with Extras, you may want to keep the advertising samplers for reference. Or perhaps you collect images of great font combos from around the web. Eagle is great for that, too. You can install an Eagle extension in all the popular browsers and save cool examples of font use straight from web to Eagle.
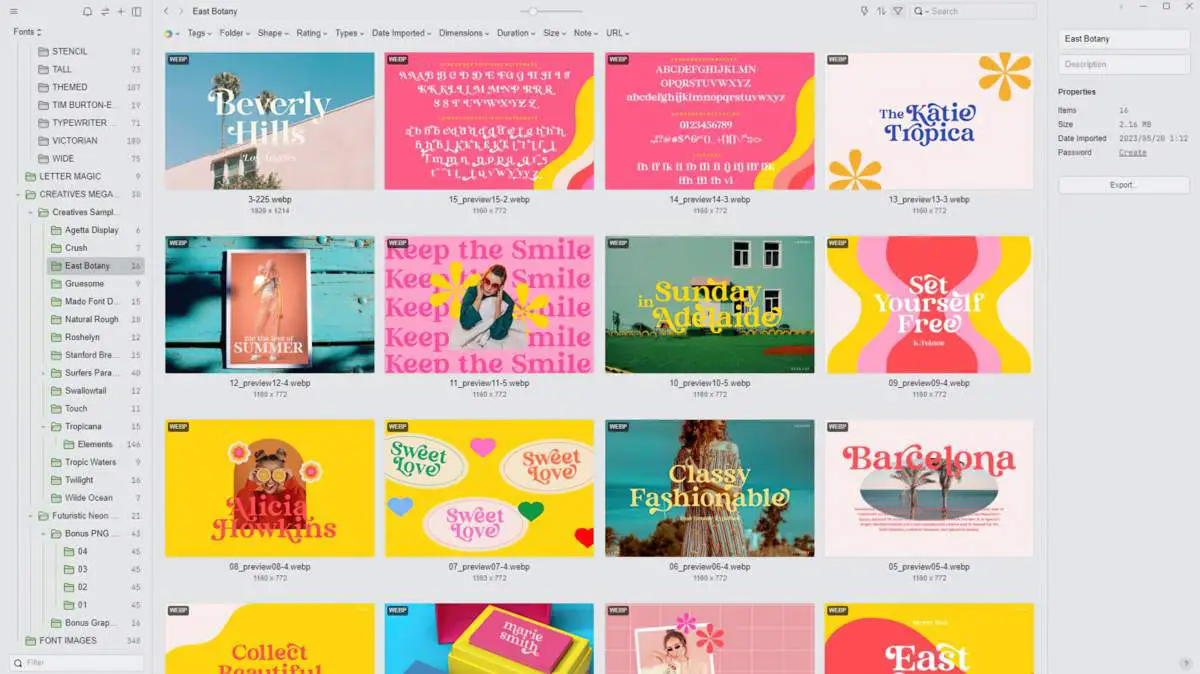
Here are the advertising samplers which came with a font called East Botany. From within Eagle software I can see at a glance all of the ligature options, and am reminded of how great this font can look.
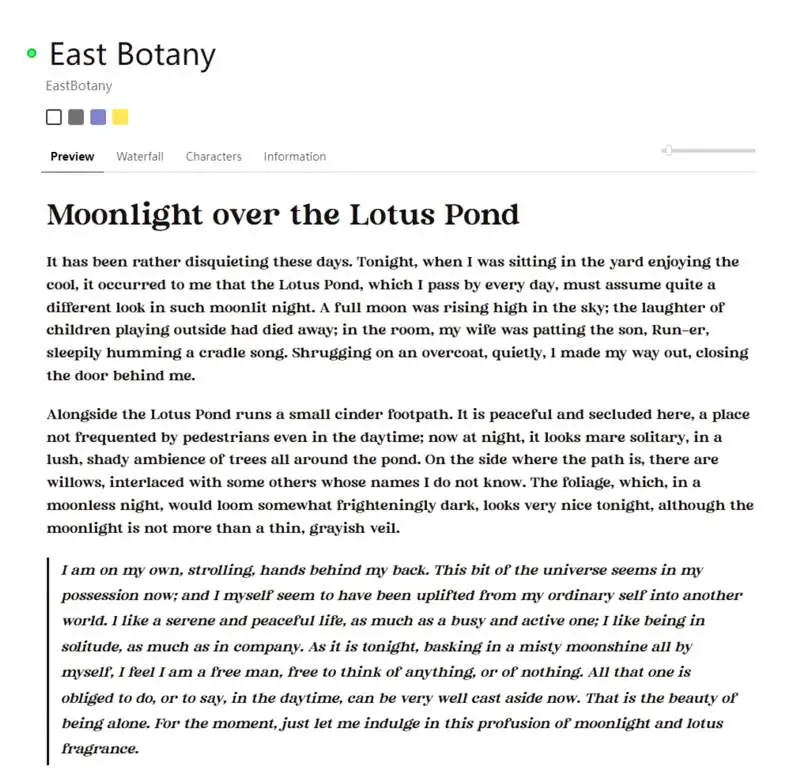
Even if your font library comprises mostly free fonts, without sampler images, Eagle does a reasonable job of showing you how the fonts might look by offering the following views:
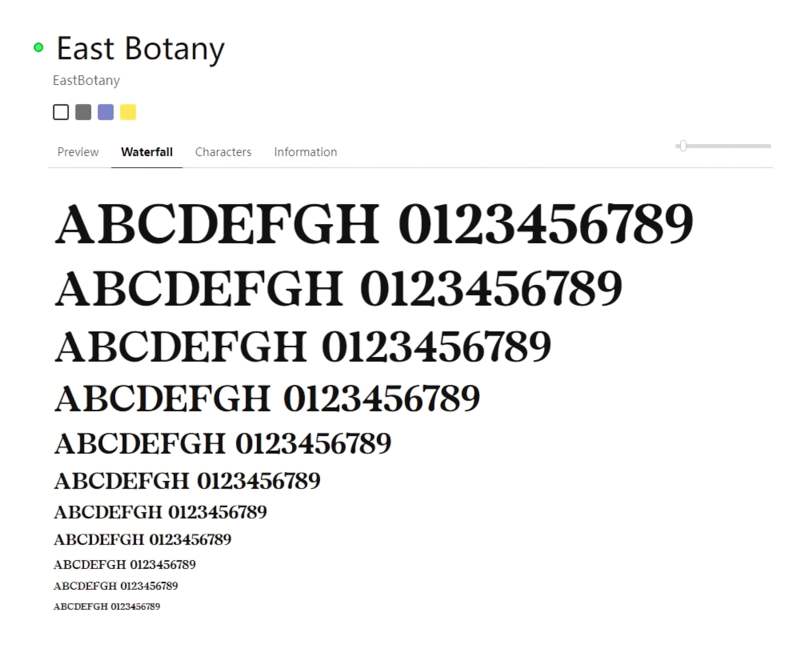
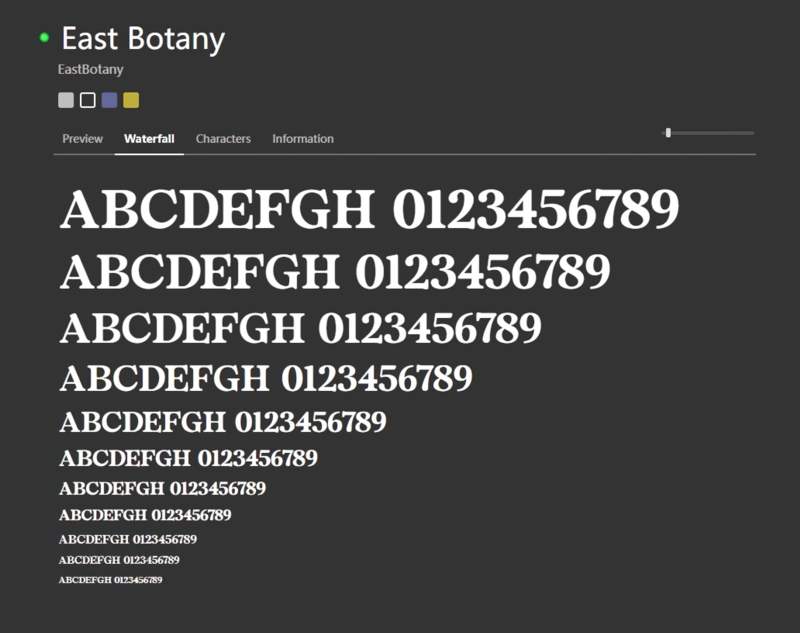
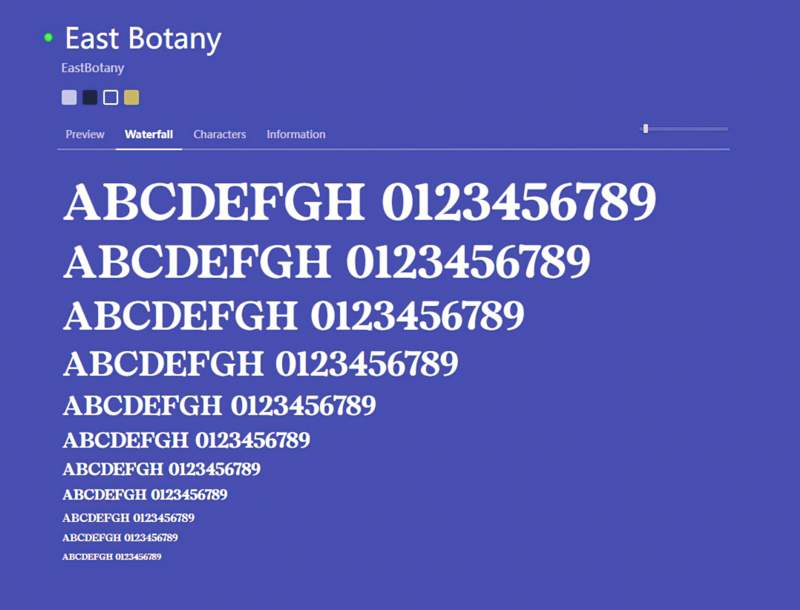
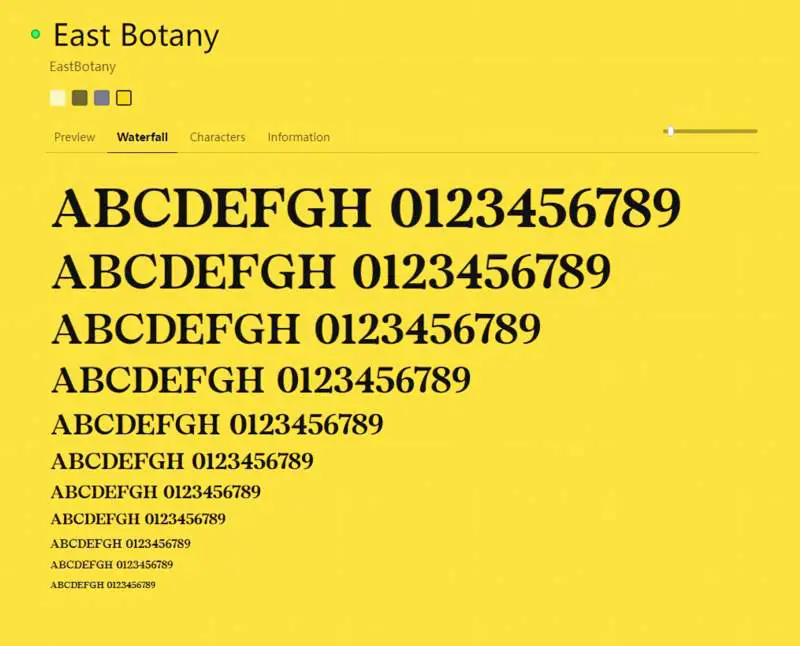
Eagle also shows you how the font will look at various weights and sizes. Of course, you can’t see the ligature combinations unless you own software with that capability. (I use Affinity software.) This is why I keep the advertising images in the same folder.
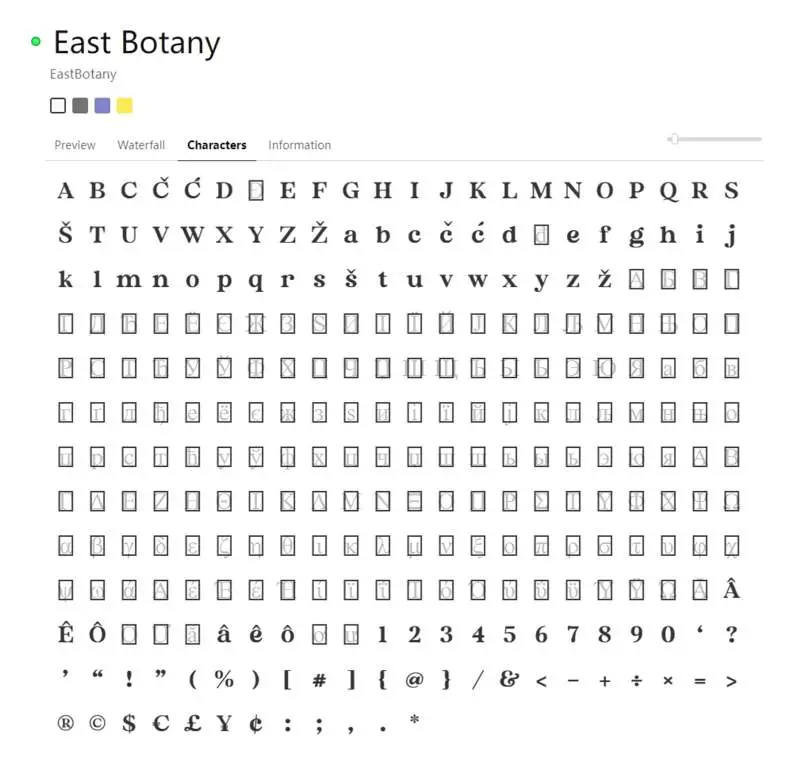
You can see which characters are available, especially important if you’ll be needing the fonts for languages other than English:
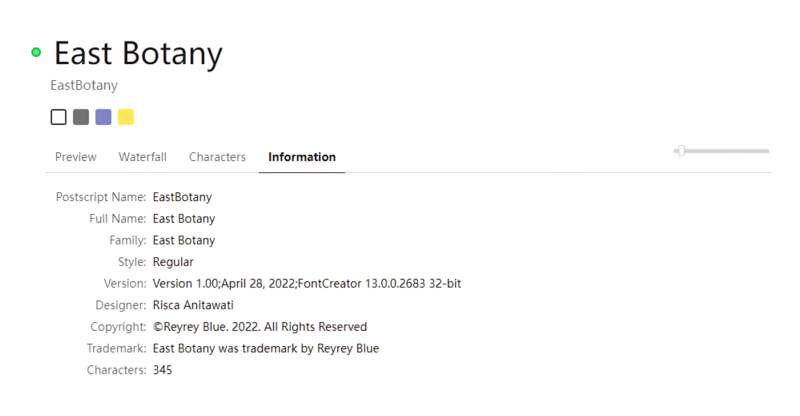
From within Eagle you can also see who created the font and other licensing information:
REASONS TO USE EAGLE AS YOUR FONT MANAGER
- One time fairly low cost. (Compare to Right Font which is currently $40, Font Agent which is $59 or SuitCase Fusion which is $119.95.) Obviously, if you’re an Adobe person, you’ll probably be using Adobe Fonts.
- Speed. I was using a free font manager (NexusFont) but it was so darn slow to access each folder. Eagle is nice and fast.
- Keep many different image files alongside your font files to remind yourself you have them!
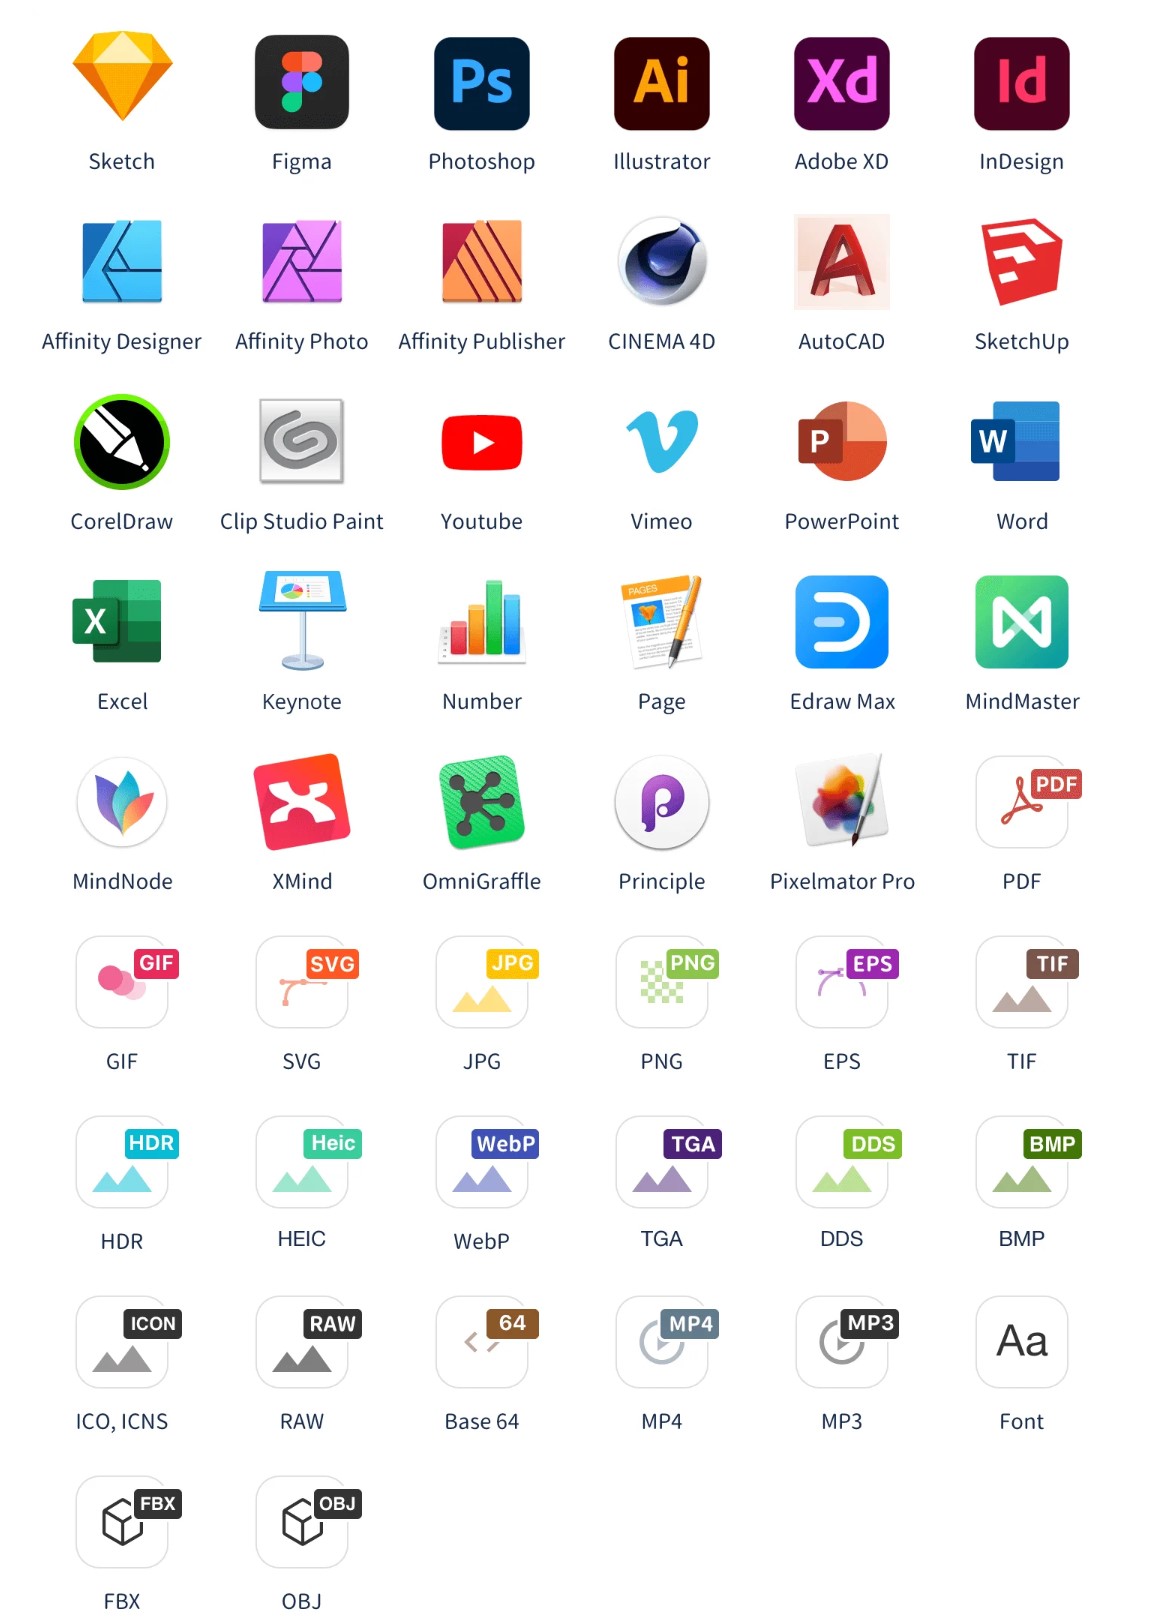
- Enable and Disable fonts from within Eagle; your software will update without a restart. (I’ve only tested this with Affinity.)
- Eagle keeps you from messing up your system by detecting duplicates.
- Advanced tagging functionality (as well as the ability to rate fonts)
- A freeform comments section, which you might use to remind yourself which projects you’ve used a font for, or a font which pairs well. You can search your comments.
- I just think it’s pretty compared to some of those other font managers. You can also browse all of your fonts simultaneously in the same view.
- Use a filter to find all of your activated fonts (probably to turn off the ones you haven’t used in a while — go to Preferences > Filter > Font to turn on the ability to filter by activated/deactivated.)
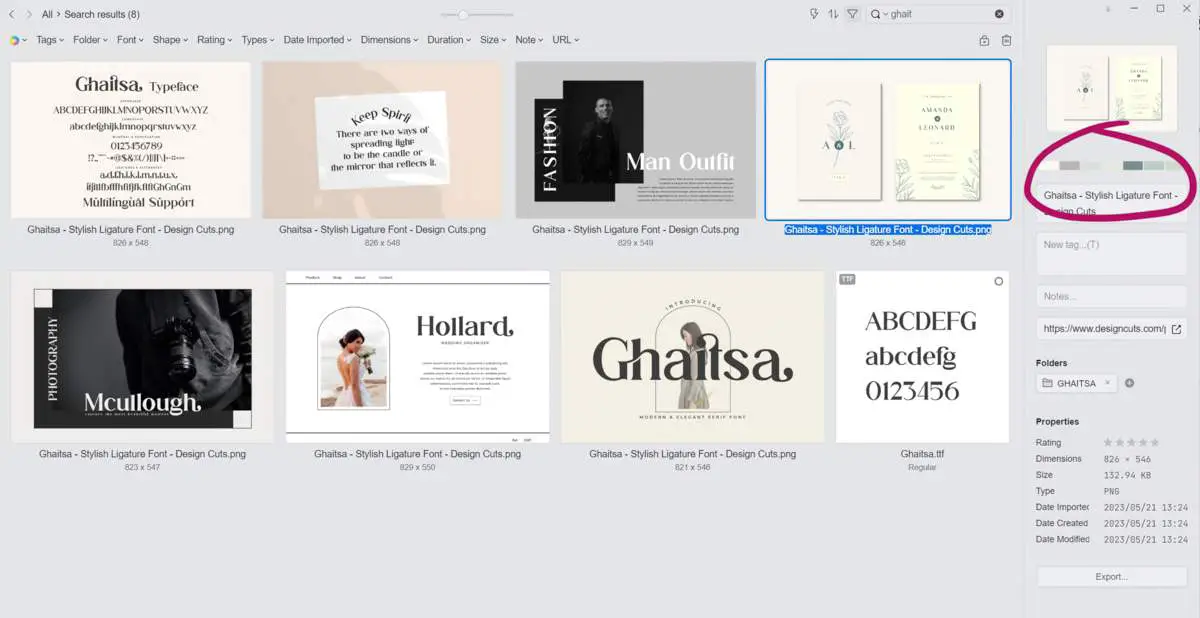
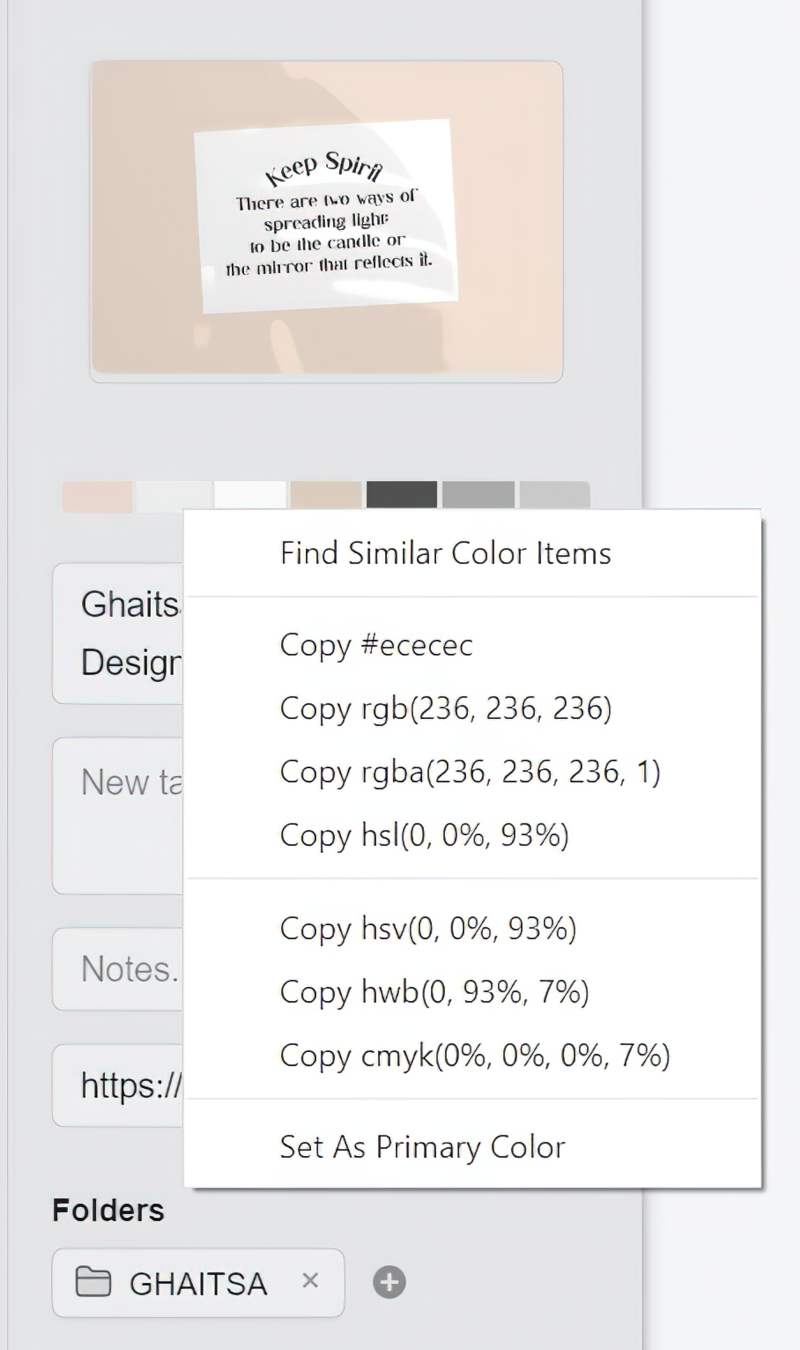
- If you’re using Eagle to store image files alongside your font files, Eagle generates a swatch of the main colours. This helps with design inspiration. Hover over each colour to copy the hex/rgb value etc, and in brackets, the percentage of the image occupied by that colour.
LIMITATIONS
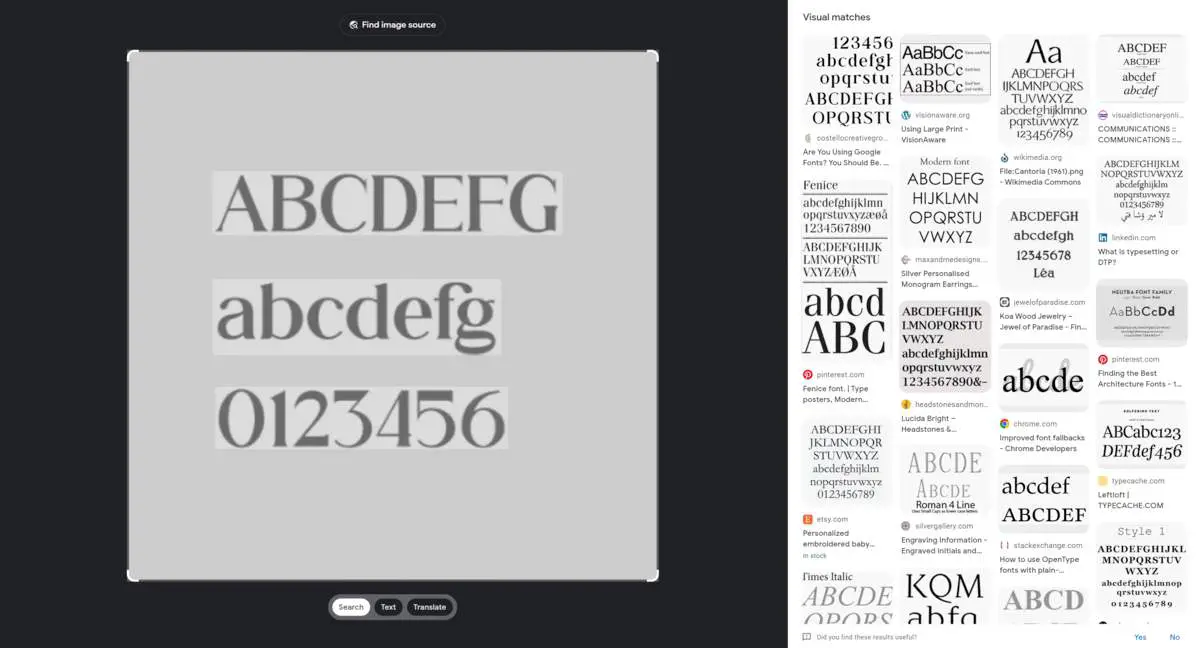
Unlike more powerful dedicated font management software, Eagle doesn’t ‘find similar fonts’ from your own library. However, you can use a font file to do a reverse image search using Google, Bing, Yandex or TinEye. Right click on the font file to select the reverse image search option.
Also, Eagle doesn’t access open source font libraries. Eagle is good for managing the fonts you already have on your computer.
Some font managers e.g. FontBase have super search features which automatically categorise your font collection into groups such as Contrast, Weight, Proportion and XHeight, which can make locating the perfect font easier. Of course, the more fonts you have, the more useful this is.
Adobe integrated font managers allow you to auto-activate missing fonts, or copy glyphs by clicking on it. These are time saving features not available in Eagle.
Some font managers allow you to pin a font to compare to other fonts as you browse. You could set up your own compare and contrast exercise using a filter/folder to find a specific font for a specific project and then delete the filter/folder when you’ve found them. Still, pin functionality would be nice, especially when finding good font pairings.
Speaking of pairings, other font managers allow you to create a mock-ups to see how different fonts will look together. While this is a useful feature, it is of course perfectly possible to experiment with font combinations from within your photo/design software. The advantage of doing it within the font manager app: You don’t have to faff about activating and deactivating fonts you may or may not use.
OVERALL VERDICT
If you’re after software which manages tagged file types, and also happen to be in the market for an easy way to manage your fonts, Eagle’s got you covered.
If you want the latest in font manager technology available, there are more tailored font manager options on the market. However, the more powerful options are also more expensive than Eagle.
