SLAP HAPPY LARRY
Short Story Study
Picturebooks
Privacy
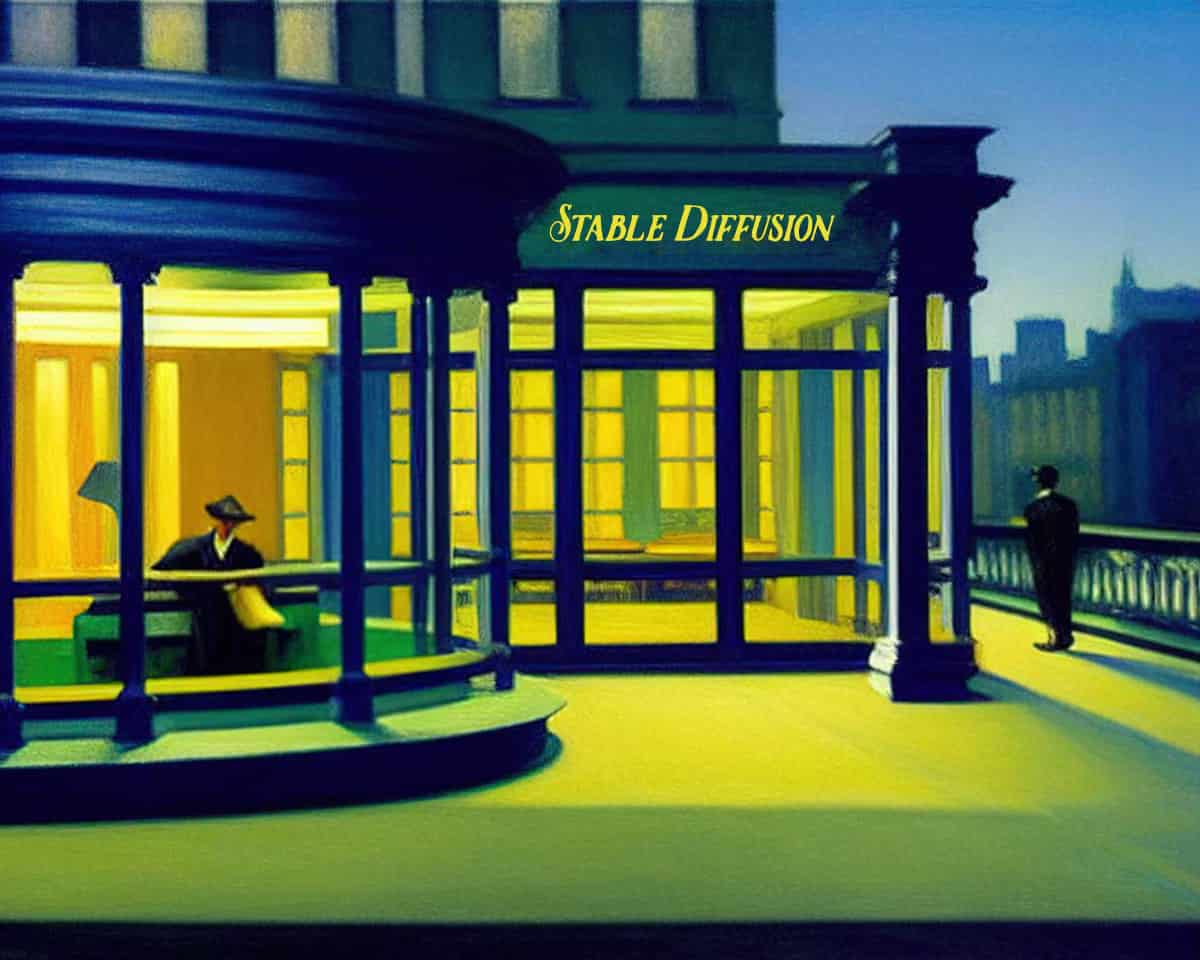
Making AI Art With Stable Diffusion
September 24, 2022
LATEST AUDIOBOOK (short story for children)
Search
Search